
A mug of herb tea should be one of the easiest pleasures in the kitchen. Leaves or flowers in a pot, hot water over the top, a few minutes' patience, done. And yet the same herbs that taste sweet and fragrant in a good café can turn out bitter, dusty or simply bland at home. The herb is rarely the problem. The method usually is.
Most disappointing cups go wrong in one of three ways: water that is too hot, steeping that runs too long, or dried leaves measured as though they were fresh. Get those right and the difference is immediate — the same jar of chamomile suddenly tastes of apples and honey rather than hay.
Here is what tends to go wrong, and how to put it right.
One Water Temperature Does Not Suit Every Herb
Pouring a rolling boil straight onto delicate leaves is the single most common mistake. Chamomile, lemon balm, peppermint, rose petals and most leafy or floral herbs carry their flavour in volatile oils. Boiling water drives those oils off in steam and pulls out tannins instead, so you end up with a cup that smells faintly of the herb but tastes flat and slightly harsh.
Tough material is the opposite problem. Root, bark, seed and berry — ginger, cinnamon, liquorice, fennel, cardamom — need real heat and time before they give anything up. A quick pour of warm water over a slice of dried ginger produces something that tastes of almost nothing.
A rough guide
- Delicate leaves and flowers (peppermint, chamomile, lemon balm, rose, linden): 80–85°C for 3–5 minutes.
- Everyday leaf and seed herbs (fennel seed, coriander seed, most blends): 90–95°C for 5–7 minutes.
- Roots, bark and berries (ginger, cinnamon, liquorice, cardamom): 95–100°C for 7–10 minutes, or simmer gently in a pan for 10–15 minutes.
No thermometer? Boil the kettle, then let it stand for two or three minutes before pouring over delicate herbs. For roots and bark, use it straight away.
Steeping Too Long — or Not Nearly Long Enough
A long steep does not make a better cup, it makes a bitter one. Mint left in the pot for twenty minutes while you answer emails will taste stewed and slightly astringent: the oils you wanted have gone, and the compounds you did not want have arrived. Time it. For the first few cups with a new herb, set a timer for the lower end of the range, taste, and add a minute if you want more.
The opposite mistake is just as common. Water over dried ginger, a quick stir, a sip thirty seconds later — nothing has had a chance to happen. Seeds and roots in particular need several minutes of contact before they say anything at all.
Take the herb out when the time is up. A basket you can lift out, or a pot you can strain into a second pot, gives you far more control than leaves loose in a mug. Whole leaves and flowers often give a decent second cup; powdered herbs and teabag dust generally do not.
Fresh and Dried Herbs Are Not Interchangeable
Fresh herbs are mostly water, so the same spoonful carries far less flavour. As a working rule, use roughly two to three times the volume of fresh herb as you would dried — about one heaped teaspoon of dried leaf to a generous tablespoon of chopped fresh.
Volume is a clumsy measure for anything bulky, though. If you want consistency, weigh it: a common starting point is about 1–2g of dried herb per 250ml of water, then adjust to taste. Herbs vary enormously in strength, so treat that as a beginning rather than a rule.
Fresh herbs also behave differently in the cup. Bruise or tear mint and lemon verbena before steeping — crushing the leaves releases more oil, and the cup tastes greener for it. Use fresh herbs within a few days of cutting, or freeze them in ice cube trays with a little water. Drying them on a radiator in a warm room tends to produce brittle, dusty leaves with very little scent left.
Dried herbs are concentrated, but they fade. An open jar from two summers ago will taste of cardboard no matter how carefully you brew it.
Your Mug Might Be Working Against You
A wide, lidless mug lets heat and aroma escape in the first minute — exactly when the volatile oils are doing their best work. Cover the cup with a saucer, or use a pot with a lid, while the tea steeps. Then uncover. You will notice the difference in the smell before you notice it in the taste.
Warming the pot or mug first with a little hot water helps too, especially with thick ceramic, which otherwise pulls heat out of the water and drops your brewing temperature without you realising. Tip the warming water away, add the herbs, then the fresh water.
Water Quality and Stale Herbs
If your tap water tastes strongly of chlorine, your tea will too. Very hard water can make delicate floral herbs taste dull and slightly chalky. A filter jug, or bottled water if you prefer, is worth trying once — if the difference is obvious, you have your answer.
Storage matters just as much. Buy small quantities rather than a large bag that will sit for a year. Keep herbs in airtight jars away from light and heat: not above the hob, not on a sunny windowsill. Whole leaves and flowers hold their oils far better than crushed or powdered ones. Write the date on the jar.
Then trust your nose. If a herb smells of almost nothing when you open the jar, hot water will not rescue it. Compost it and buy fresh.
Add Sweeteners and Citrus at the End
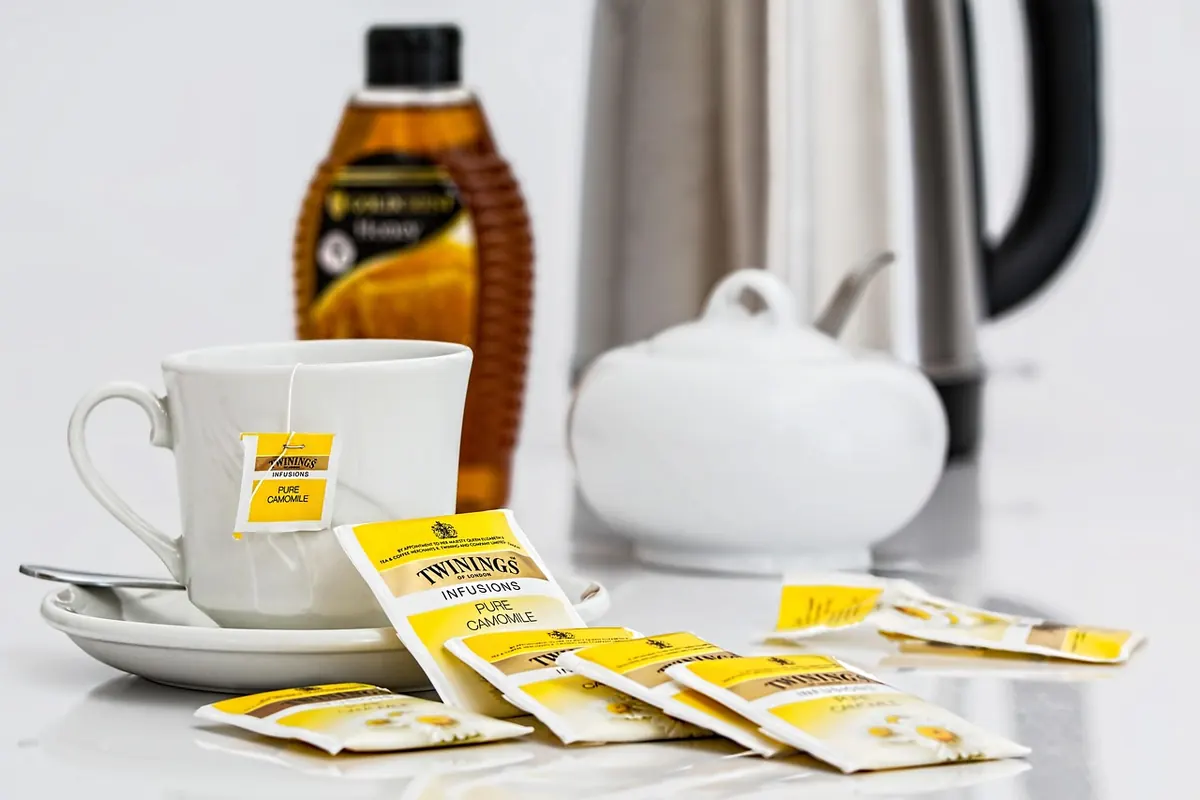
Honey stirred into a scalding cup is largely wasted: its own aromatics vanish, and it masks the herb. Let the tea cool for a minute or two first. Lemon is best added last as well, since acid shifts how floral notes come across — a squeeze can brighten a heavy root tea and flatten a delicate one. Milk and herbal teas rarely get along, though nobody is going to stop you.
A Method That Works Every Time
If you remember nothing else, remember this sequence. It handles almost every herb in the cupboard.
- Boil fresh water. Reboiled water tastes flatter.
- Warm your pot or mug, then tip the water out.
- Measure: one heaped teaspoon of dried leaf, or a tablespoon of fresh, per 250ml. For roots, bark and seeds, use a slightly heaped teaspoon, crushed or sliced.
- Let the kettle rest for two or three minutes for delicate herbs, or pour immediately for tough ones.
- Pour, cover, and set a timer for the lower end of the range.
- Strain, taste, and adjust — a little more time, or a little less herb next
Photo: stevepb / Pixabay